
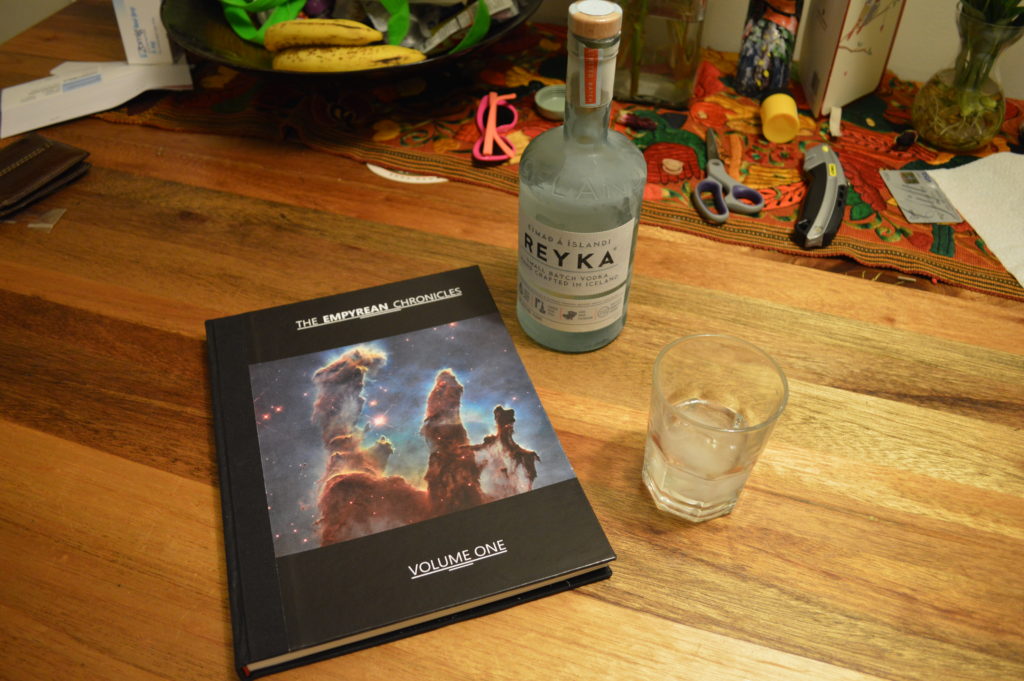
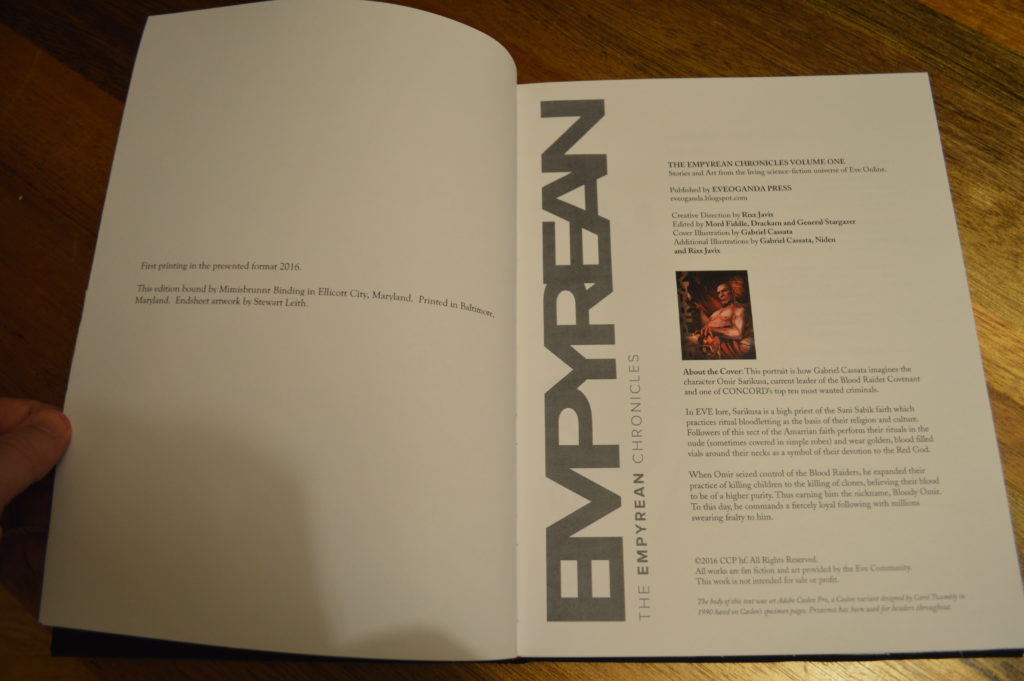
 Making a book is a process of craftsmanship. I’m not writing about the content, but the physical act of taking paper, boards, cloth and glue and turning those parts into an object that an observer would call a book. It is also a very old tradition. While printed books are about 500 years old, actual books and binding techniques have existed for at least 2000 years or more. From clay tablets to bound wooden slats to scrolls to vellum to parchment to paper, with exposed or cased bindings, using thread, leather, or more exotic posts, books have been around for a long time. I’ve been learning this craft off and on for the last few years. Today is a short history of one book being created. This is how I turned “The Empyrean Chronicles” from a data file to a casebound edition. I’ll go through the process first. At the end I’ll include information about equipment and supplies.
In a Nutshell
Making a book, in brief, consists of: Find some content, then format and print the content. Once printed, in the case of a sewn book, take the printed leaves (spreads of pages to be folded) and fold them into bundles called signatures. Then sew the signatures into a book block. Once sewn, the book block has tapes and a mull glued on. After that, the mull is attached to boards. Then cloth or paper or leather may be glued over the boards, and embellishments are added. This results in a book.
Formatting and Printing
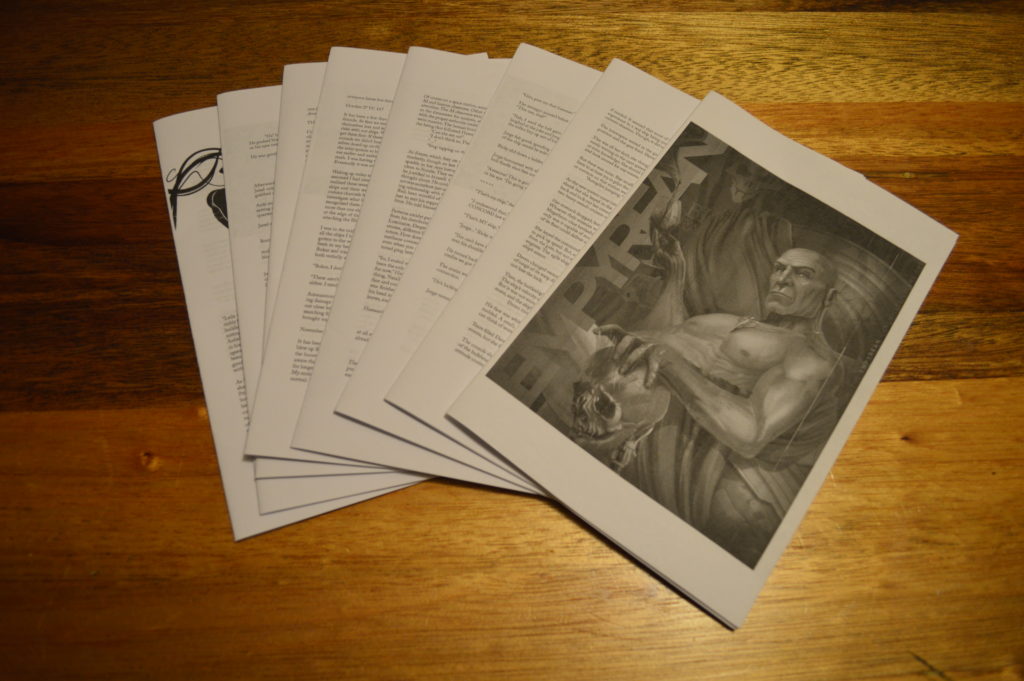
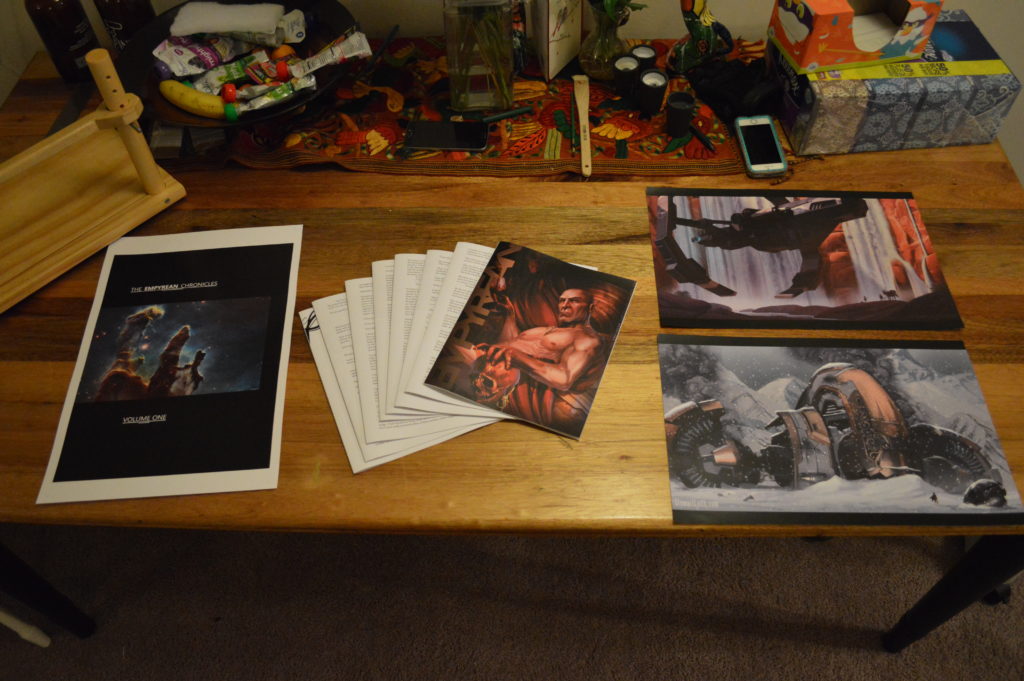
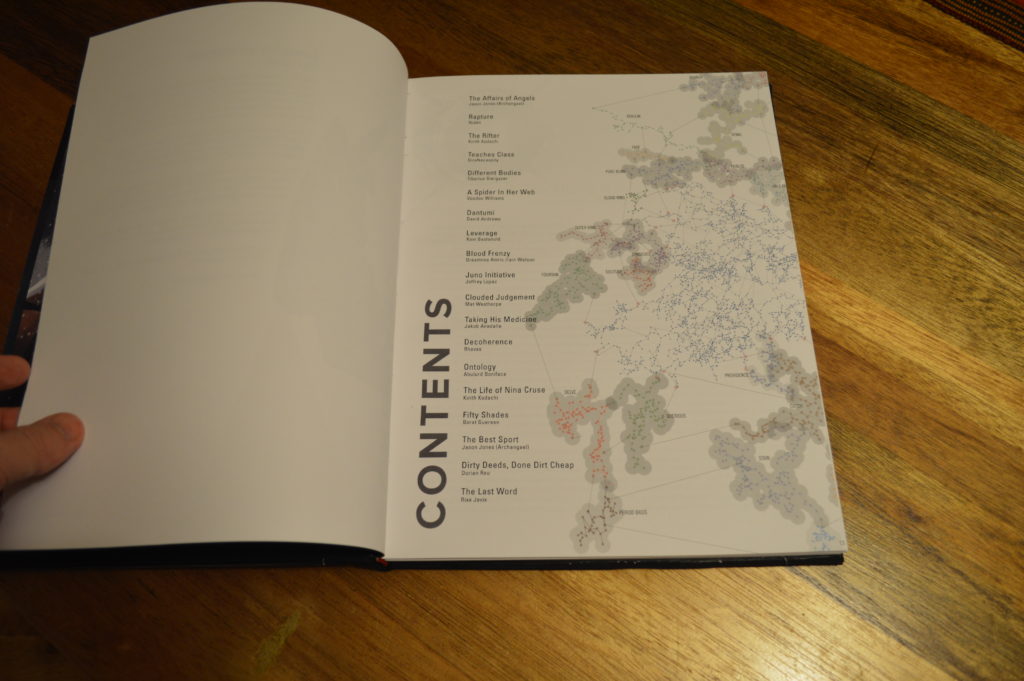
The actual content of the book I made is by numerous authors, with art by Niden, Gabriel Cassata and Rixx Javix. I added endpapers with art from Stewart Leith. All the files started as either PDFs or JPGs. Getting those files to paper requires a printer. If you want to do small format printing, you might be able to achieve good results at home. I did some test prints on 8.5×11 paper to check my layout ideas.
Test print.
If you go through a proper print shop, there are a few considerations. One big question is are you going to use a large scale printer or a boutique shop. Large scale printers often have minimum quantities. boutique printers will do odd jobs. This leads to another question. Are you going to do digital printing or offset printing? Digital is generally cheaper, especially for small runs. Small runs mean a few copies or a single copy, as opposed to 500+, which is the minimum for many large scale printers. Digital also runs into paper size issues. You need to find out the maximum size of paper your printer can handle. Offset seems to offer larger sized papers, but comes with the additional cost of creating plates for the press, which you will pay for. In the end it comes down to what you have in your area, and what you want to pay.
I ended up going with digital printing. I live in the Baltimore area, and worked with Alpha Graphics, Inc. They were quite helpful through the whole process. If you live near me, I highly recommend them for any work you need done.
Once you have a printer selected you need to get your files to the printer. In my case, this meant converting the PDF of The Empyrean Chronicles to an InDesign Book file, and creating spreads for my endpapers and cover. If you have never used InDesign, you can get it for $30 a month through the Creative Cloud. It is a powerful piece of software, but it has a bit of a learning curve. You should also learn about bleeds, margins, printer’s marks, and generally mess about for a while to see how the software works. There are many guides and articles to help you. If I had to do everything again, I would prefer to start with text and art on my own so I could do my own layout, but that could be an article in and of itself.
I can’t stress this enough: Find a printer who asks questions and that you can work with. Once you commit to your print it may be a good chunk of change you are paying, so finding a good printer that wants to get the job done right will save you stress and money. I started with no InDesign experience, and after a few weeks working with my printer, I got what I wanted at a price that was fair, and well below others in the area. This is only because they constantly asked clarifying questions and pointed me to resources when they could have just demanded $75 an hour for formatting.
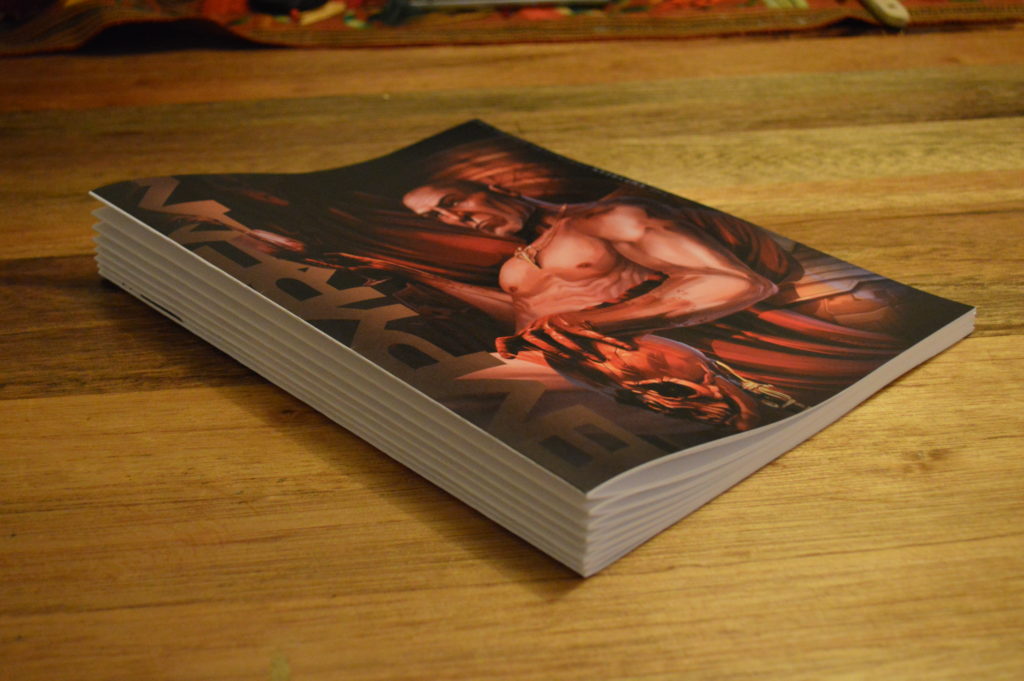
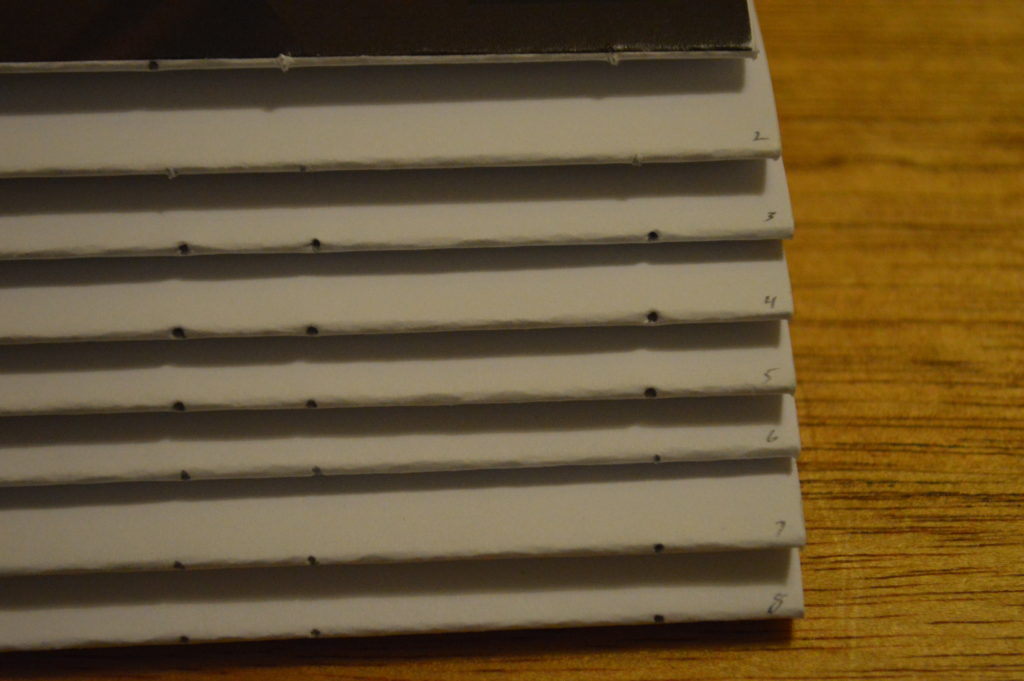
The main issue is you need to turn pages into spreads that will be printed as leaves. A leaf is a single piece of paper. In my case that means 4 pages, two front and two back. Leaves are laid out for printing so that a collection of leaves are collated and folded into a signature. If you look at a hardcover book you can see the signatures in the binding, as little collections of pages. InDesign can handle this formatting if you create a book file. Books printed on signatures must have a number of physical pages divisible by 4. The original file for Empyrean Chronicles, after adding some white pages and one new edition page, came out to 128 pages. This ended up creating eight 4 leaf signatures (4 pages on 4 leaves x 8 signatures), which is nice. You can have any number of signatures in a book.
Signature stack.
Leaves.
Finally, you need to choose you paper. I used 80# matte stock for the pages and endpapers and 80# cover stock for the cover. That 80# cover stock is a lot heavier than the 80# paper stock. Next time, I might go for 60# cover stock and 60# gloss papers if I do another art book. It will be cheaper and less stiff to work with.
All the pieces.
Sewing
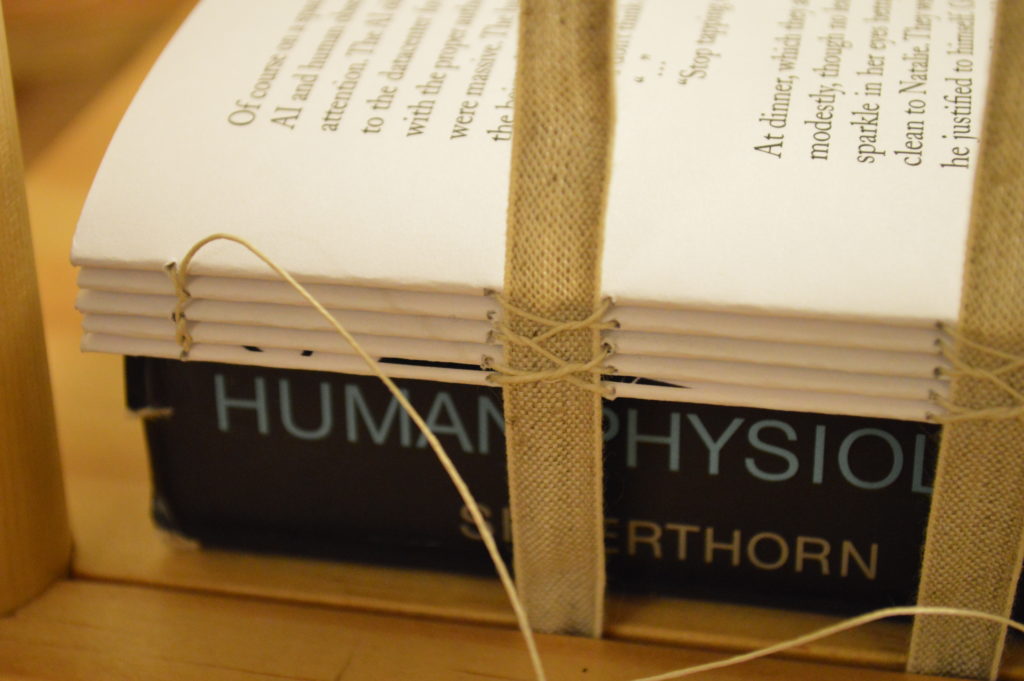
My printer folded and trimmed my pages. The next step was sewing up the signatures into a book block. This requires first punching the sewing holes. Since the book is heavy, I opted to using tapes and mid weight linen thread. I used 5 tapes. The basic process is to mark up the signatures with numbers and hole guides for the thread, pierce the holes with an awl, then use your choice of stitches and techniques to sew up the book block. Below are the signatures first marked and numbered, then punched. Signatures are numbered so you don’t accidentally mess up your sewing order.
Holes and marks.
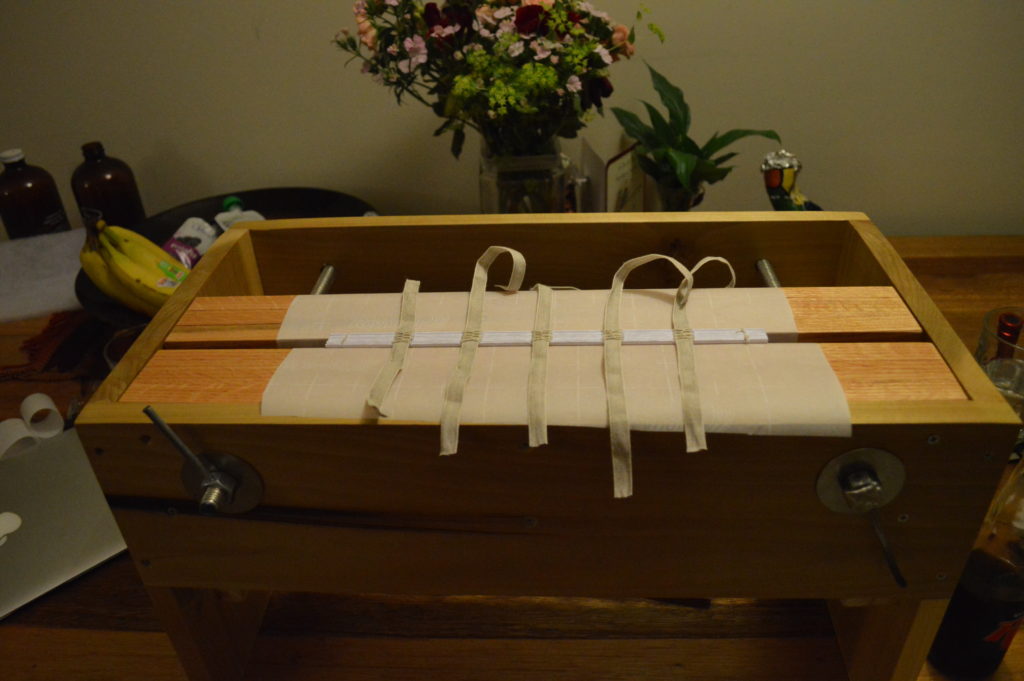
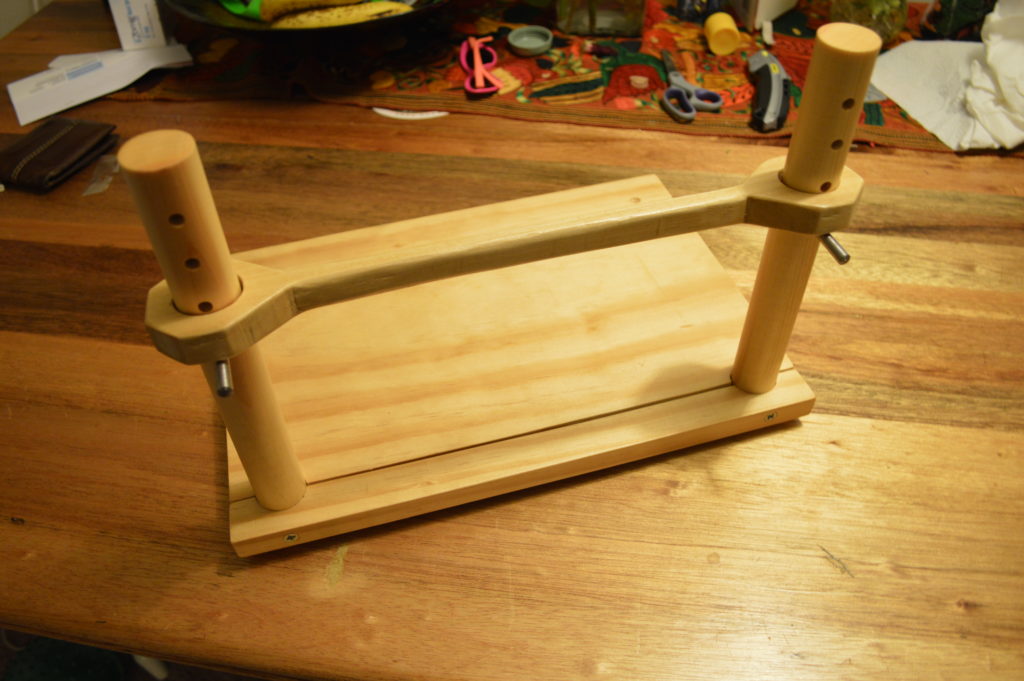
I use linen thread, run over beeswax twice. This gives the thread a nice coating of wax to prevent tearing the paper. The tapes get attached to a sewing frame (the wood contraption in the pictures) to help keep the tapes lined up as you sew. You can buy a sewing frame, or make one from scratch. I made mine out of pine and poplar boards I had lying around. The basic stitching I used was kettle stitches at the head and foot attaching each signature to the previous one, and then at each tape I looped under the previous signature’s thread to provide some extra reinforcement. This is a nice stitching pattern that gives strength without having to over-tighten each pass of thread. One big challenge in sewing is making the stitching firm enough to provide support, but loose enough to avoid caving or bowing the spine. A good sewing job should result in a straight spine with no curve in either direction. More advanced bindings do curve the spine, but not via the stitching itself.
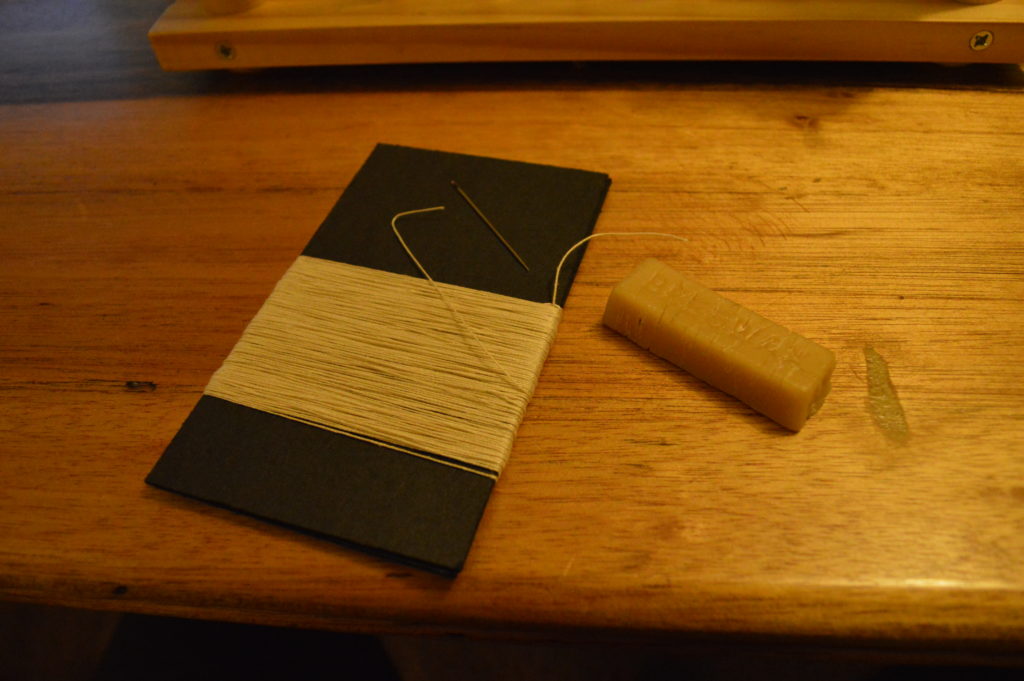
Thread and wax.
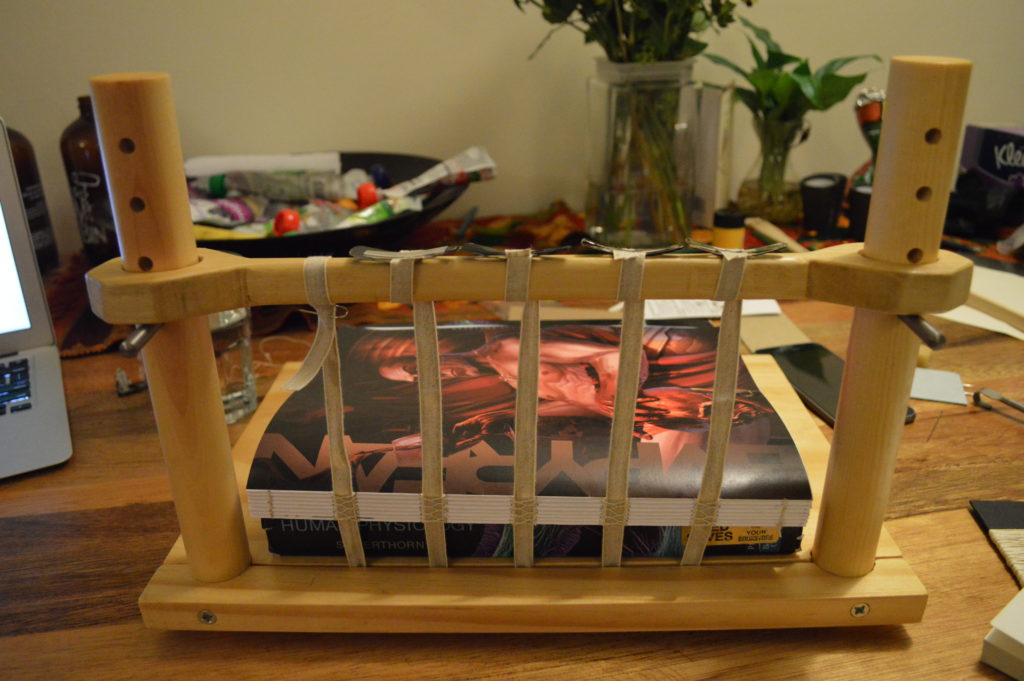
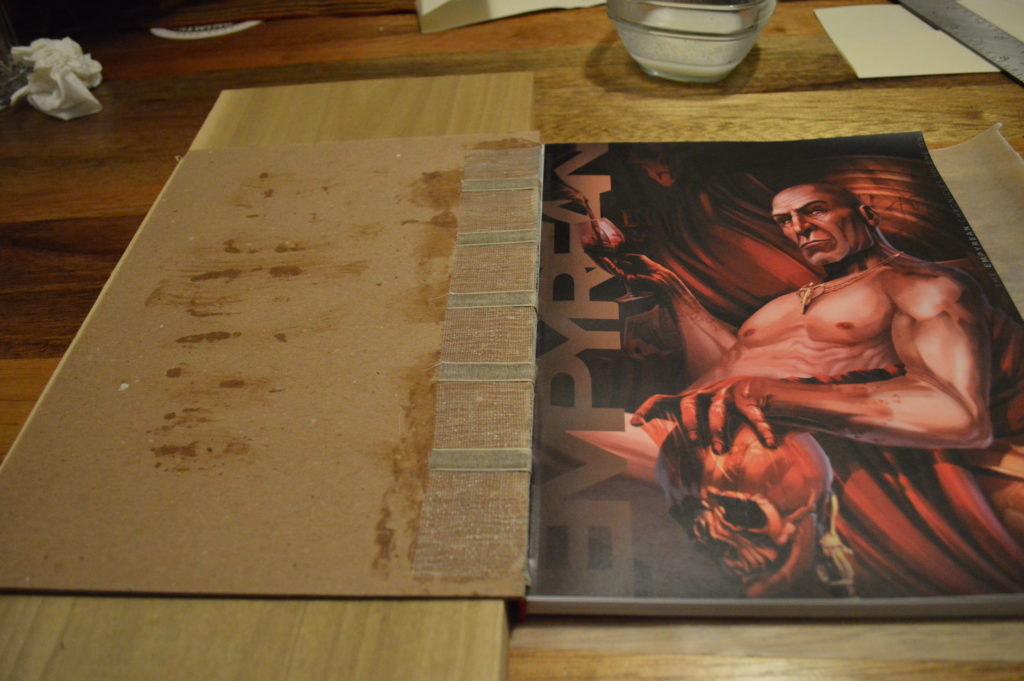
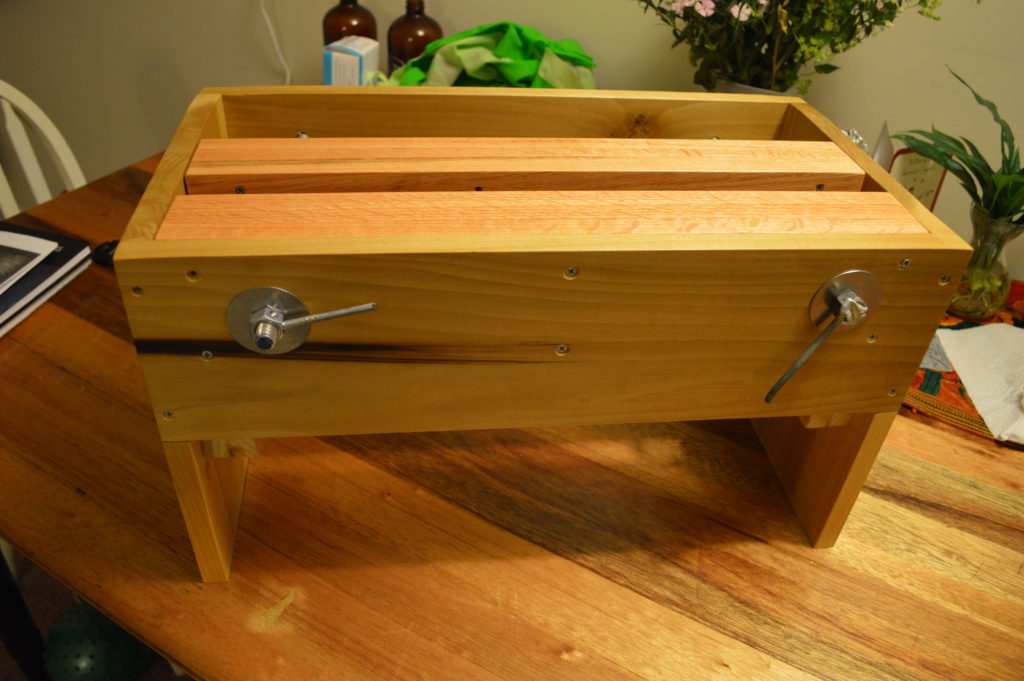
Once the tapes are sewn in and the book block is sewn up, you attach a mull or super (these are two names for the same thing). The mull is a heavily starched open weave cloth that will eventually be glued to the boards. To attach the mull, you press the book block in a vise, ensure it is square, then generously apply glue to the spine, place the mull, then work glue into the mull and spine. Then you let it dry overnight. After that you trim the mull and tapes to the same length. The pressing vice and tub shown can either be bought or made. I made my pressing tub from poplar for the frame and red oak for the vise. The vise must be hardwood to avoid warping of the vise when pressing.
Once you have the mull and tapes glued to the spine, the book block is starting to look like a proper book.
Sewing frame.
Stitch detail.
Pressing tub with book block prepped for pasting mull.
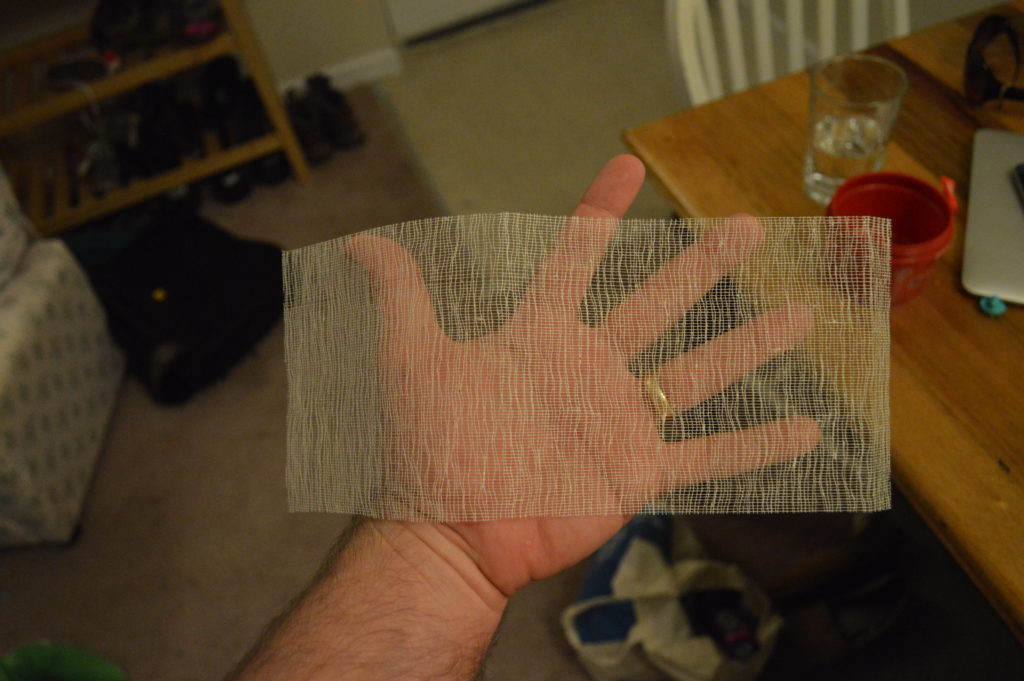
Mull.
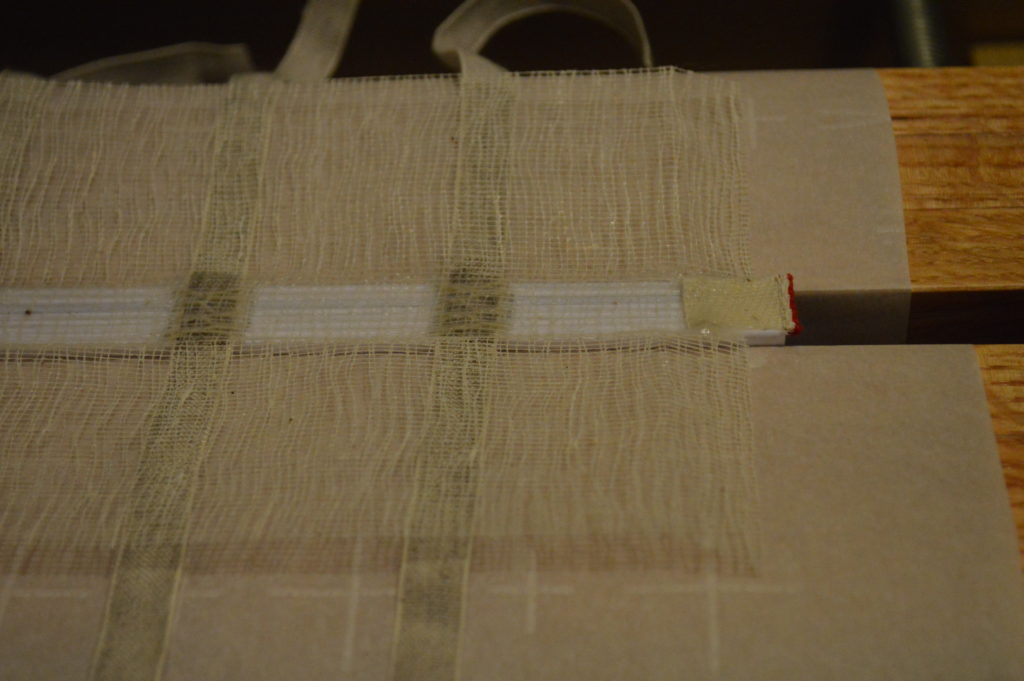
Pasted mull.
Boards and Cloth
Next up is cutting the boards and cloth. Boards are the cardboard that forms the “superstructure” of a hardback or casebound book. In this job, I am making a full case binding. This means I have front and back boards, and a board for the spine. You can find good boards of various thickness at nicer art supply stores or online. I am using heavy boards due to the size of this book.
Sizing the cover boards is simple in theory. Lay out your board stock, leave a 1/8 inch margin for the top, bottom and non-spine edge, and determine the gap for the hinge. The general rule with casebound books is to give two board widths of space on the cloth between the spine and boards to allow for a hinge. The spine board is as tall as the book, and the height is the height of the book block plus two boars (the covers). I measured by placing two pieces of board around the block, then wrapping the work with paper and using the creases to determine my spine width. You mark on your cloth where the boards will be, then cut with at least 1/2 inch extra space for folding over the cloth. Then start cutting. The hard part is keeping everything square.
Gluing is straightforward. Put the book block down, then put a riser (I use wood) next to the book, at about the height of the book block’s top. First you glue the mull to the board, then you glue the tapes on top of that. You can see in the photo that I layer wax paper between the mull, tapes, and book block. Wax paper is great stuff that lets you paste without ruining paper you want kept pristine. It is important to use wax paper instead of parchment paper. It works better, and is cheaper!
Pasting front board.
You attach the front and back boards one at a time, using weights to press the work as you go. How long depends on the glue you use. My “weights” are old textbooks and dumbbells.
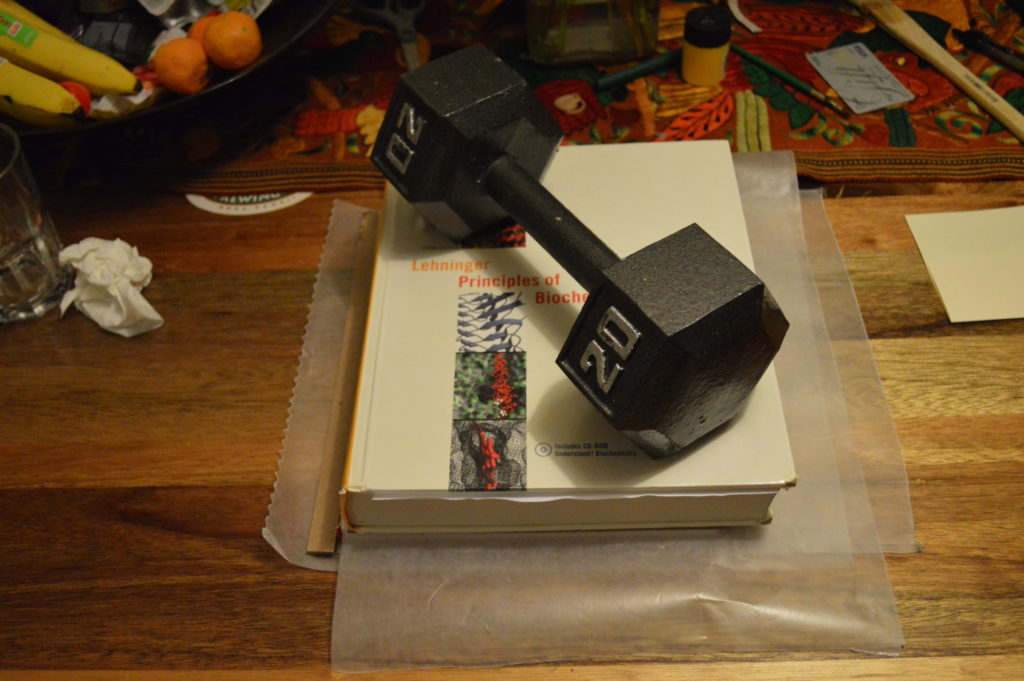
Why pay for weight?
While your boards are drying, you can start working on the spine and book cloth. In my case, the cover will be full cloth on the back and spine, with a partial front cover.
Glue the spine into the cloth, then rub it down cloth side up so the cloth is glued solidly to the back and sides. Once that is dry, you start gluing on the cloth to the boards. This gets fun. You have to quickly and evenly paste up the whole cloth. y two passes to make sure the whole cloth is moist. Then you carefully place the cover into the markings on the wet cloth. Then close up the cover (wax paper again to keep glue of the book block) and smooth out the cloth. Sometimes you have to brush more glue into the underside of the cloth, lifting up the cloth and getting it properly pasted. For both pasting and smoothing, you start from the middle and work out to edges.
Hemming
Now things get really fun. Hopefully your cloth hems, which will turn over into the inside of the cover, and even and square. If not, now is the time to fix them with trimming. Once square, you miter the corners. This is to allow for the proper folding of the corners. You essentially make a 45 degree cut with 2 board lengths distance from your corners.
Once you have that done, you take a blunt needle and fold the overhang at the spine down in between the spine board and the actual spine, working it in slowly so as to get it tight but not creased the cloth. This bit is best approached with a steady hand and a beer.
After that is done, you paste the top and bottom hems down. then you do some careful folding and pasting at the corners to get a nice corner. Then the outer edge is pasted down. If you do it right, you end up with a nice consistent hem inside the book covers with a nice, centered fold at the corner. If you are doing a full cover, you are done with the outside!
Hems.
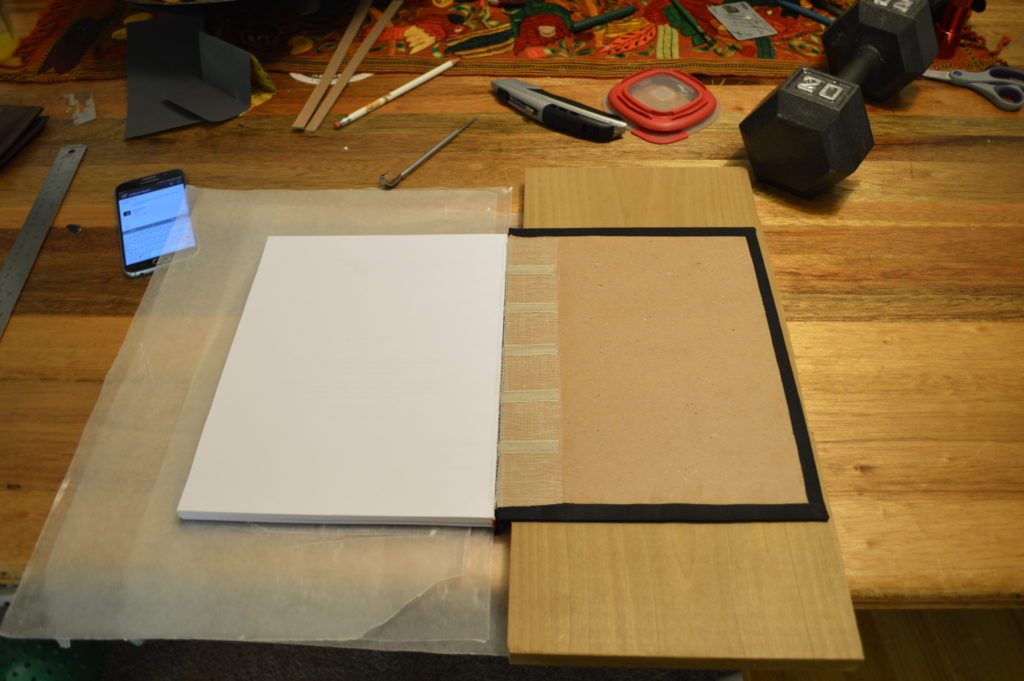
I’m not done. My front cover is about 1/4 cloth and 3/4 heavy paper. The paper gets pasted on the same was as you would paste cloth. Lots of precise cutting and measuring here. I forgot to miter the corners, so I had to fudge the corners.
Getting ready for cover.
After all this is pressed and dried, it is time to finish up the endpapers.
Endpapers
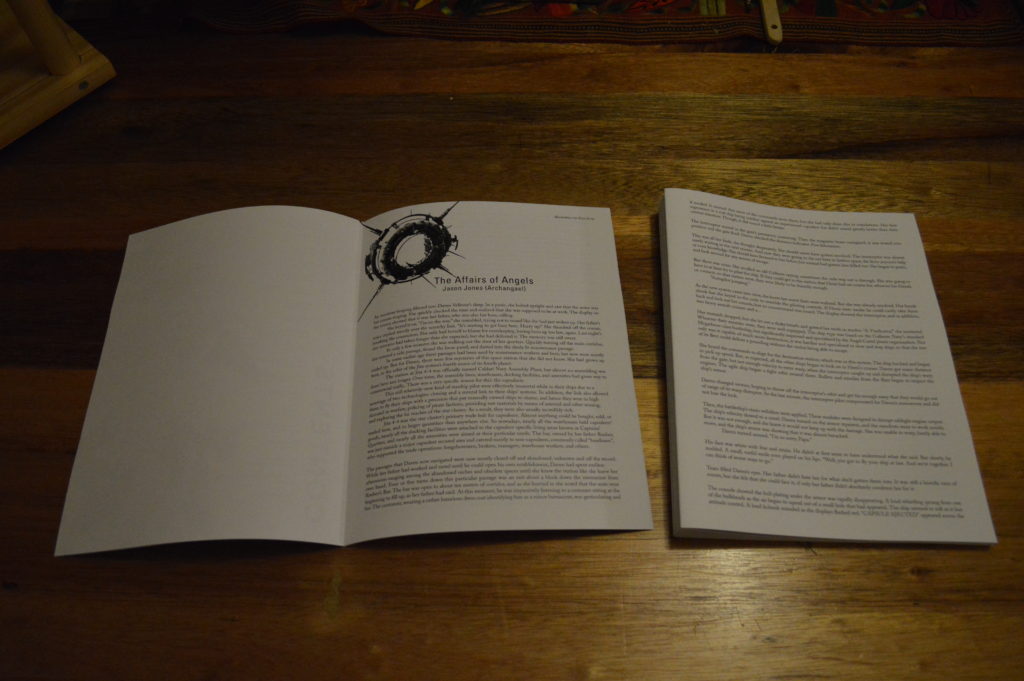
Endpapers are the nice looking sheets in the front and back cover. If you have ever wondered why they tend to be heavy, let me explain. Every step of adding glue and material puts stress on the glued surface. Heavy paper, cloth, or leather covers will actually bow the board outward. Imagine how water and force can bend wood over time, same thing. Endpapers help counter this bowing by providing an equivalent force in the opposite direction. They also hide the hem edges, mull, taps, and all the inner boards.
I have endpapers printed to match the size of the book block. If all your measurements have been good, these should just sort of fit into place. First you glue the endpaper to the board, again working quickly with lots of wet glue. After that dries a bit, you crease the endpaper into the hinge, unglued, so that there is slack paper to move when you open and close the book. Then you place a thin strip of glue along the inner edge of the front page and paste the endpaper to that. This seals up the hinge.
I found that the full print first front page didn’t like my glue, so I ended up using a thing line of superglue there to get it to stay put.
Finally, if you have any endpaper hanging over the edge of the book block, trim it flush. You can crease the hinge for a crisp look, and burnish the cloth if you want.
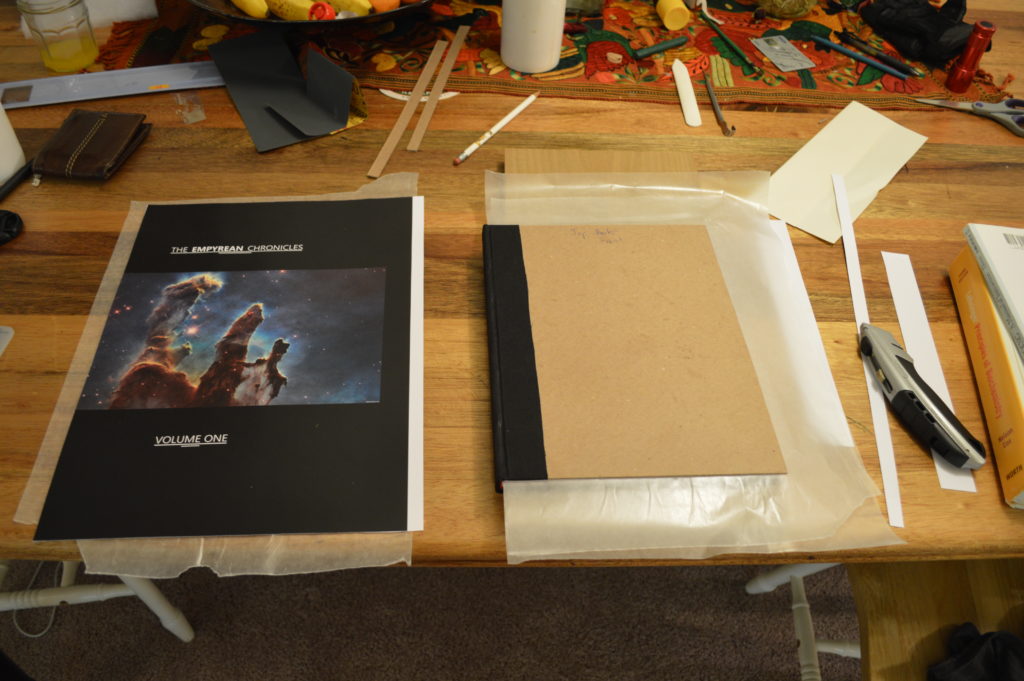
And the book is done! Here are more photos.
Ready to read!
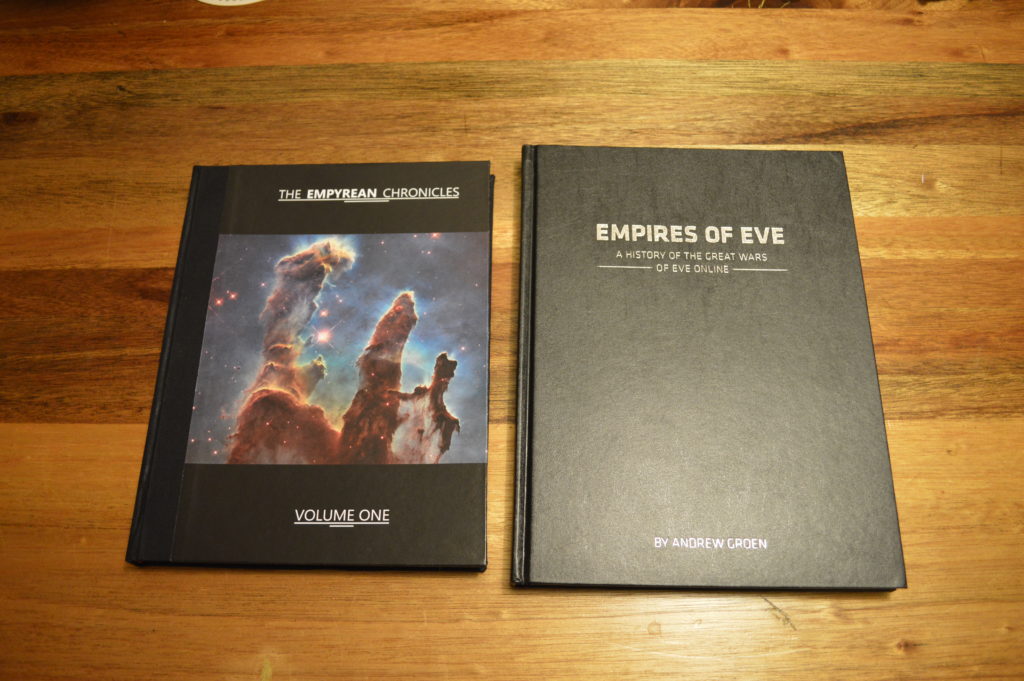
Size comparison.
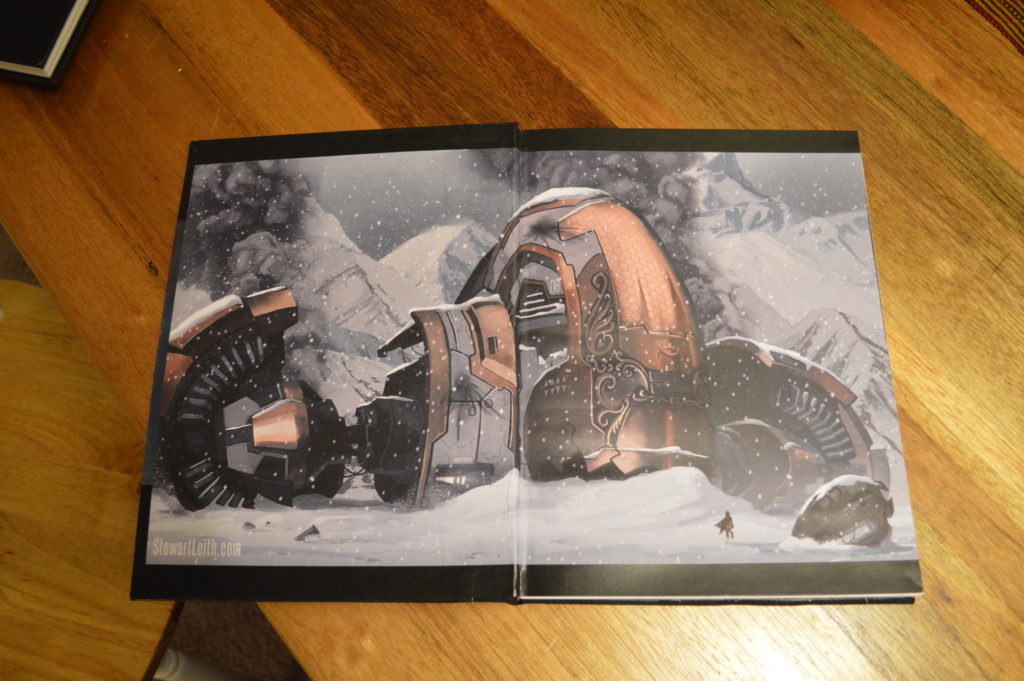
Front endpaper.
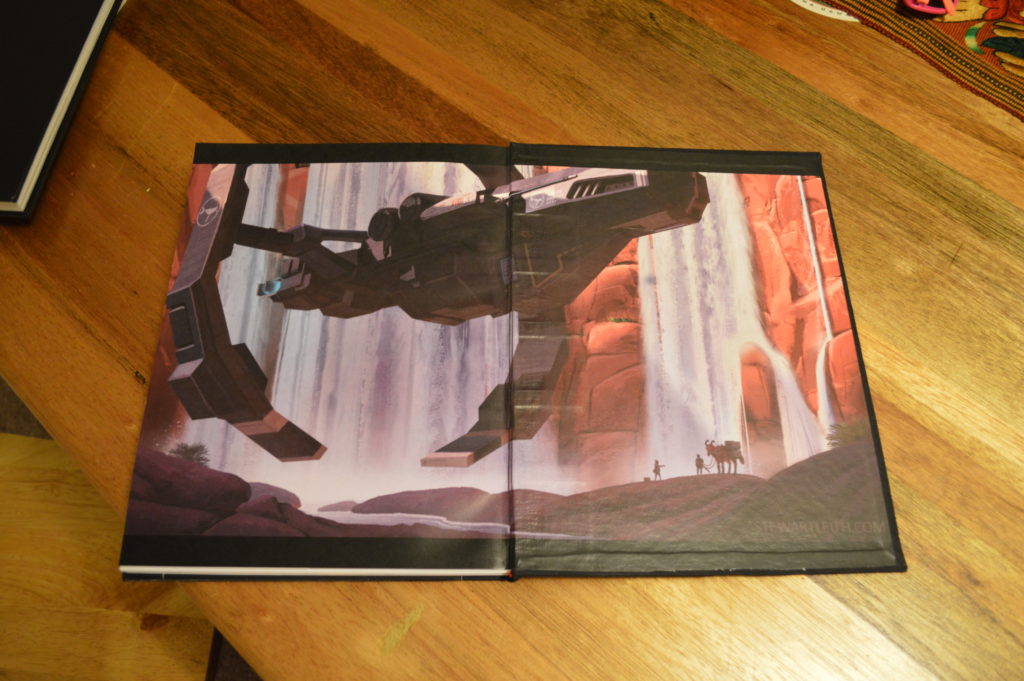
Back Endpaper.
Does this book look familiar?
 Equipment and Notes
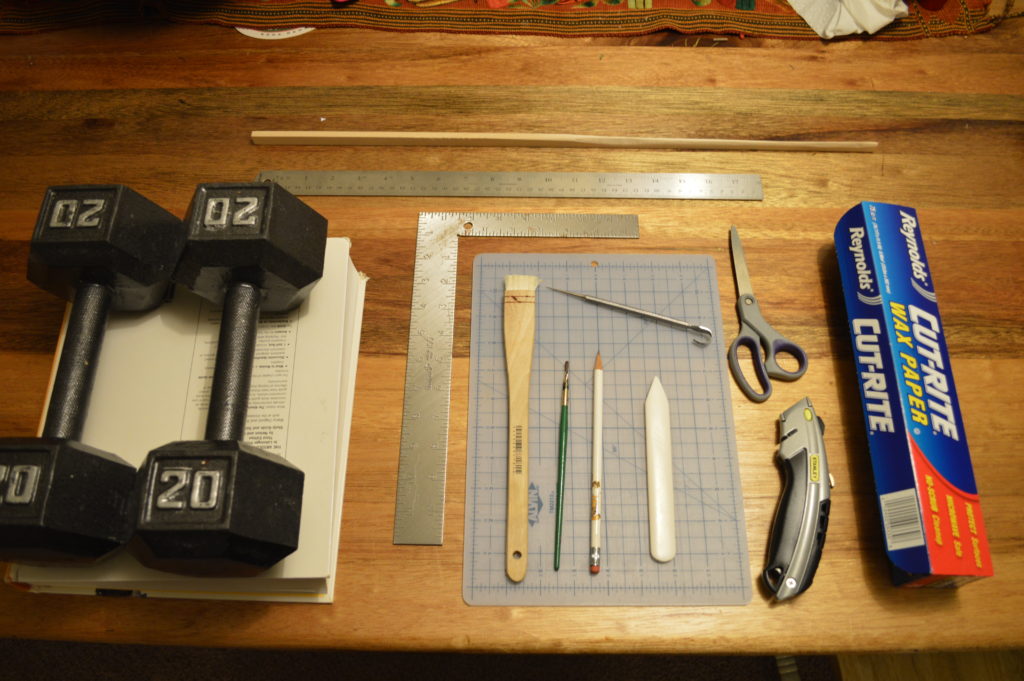
So what do you need for all this? As a bare minimum, you need scissors, glue, a straight edge, a sharp blade, a brush, a needle, thread, wax, wax paper and weights. Additionally, you might want a bone fold, an awl, waste paper and waste wood for blocking and shielding. If you get fancy, you want a sewing stand, a press and tub, a punching cradle, and some extra bits as you see fit. I built my sewing stand and pressing tub. You can buy these, for hundreds of dollars, or build them for whatever the wood costs you. Mine cost about a hundred dollars all told. I also made a “creasing wedge” for the endpapers. This was just a long piece of balsa I whittled to an edge and sanded round and smooth. I used it to help get the end papers up into the hinge while applying constant pressure across the whole paper.
My glue is simply wheat flour (four tablespoons) whisked into 1 1/4 cups water, then boiled. This keeps as a thick goo in the fridge for a long time. Then you can scoop a dollop out, mix with water to your desired consistency, and paste away. This is also called wheat glue, wheat paste, and other things. It is incredibly old, and used for pasting up graffiti. The water evaporates and the wheat forms a nice solid bond. I’ve also used binder’s glue and white glue. Both cost way more, and are less easy to spread with a brush. One note is that some papers do not play well with this glue, so if you use inked or gloss paper, test it out first.
If you want “proper” supplies, I have some recommendations. Lineco makes a nice range of products for binding. You can find these at nice art supply stores. Think university art stores. If you live in Los Angeles, Continental Art in the Valley is wonderful and has an amazing selection of fine papers for both endpapers and covers. In Michigan, Hollander has wonderful supplies and a nice online storefront. Nation-wide, Blick Art has many locations and a lot of the supplies I use.

For a good intro to book binding, I recommend Hand Bookbinding: A Manual of Instruction by Aldren A. Watson. It has detailed instructions on many binding techniques, and schematics for building your own equipment. Googling bookbinding can be tough, because there are a lot of, in my opinion, crappy post and coptic stitch tutorials. These have a place, but not for real bookbinding. Many of the authoritative texts on this subject are 20-100 years old, and instruct in techniques that are hundreds of years old.